These 5 tips should help you shoot better real estate photos …
I just finished training a new photographer in Colorado Springs, and a lot of these tips he and I discussed throughout that process (and a lot he was comfortable with already, because he’s a natural badass). BUT whether you’re a new photographer, a seasoned (grizzled?) old pro, or a realtor or homeowner looking to take some smoking hot photos of your home or your listing, these (5) tips might help. I’m going to operate under the assumption that someone reading this has a working understanding of photography basics, but also may not have access to $5,000 worth of pro gear. And although this might get me in trouble with some seasoned (grizzled?) pros, I’m going to say it—the best real estate photos are shot in HDR (high dynamic range). I’ll cover some best practices for HDR photography in a subsequent post.
Go wide
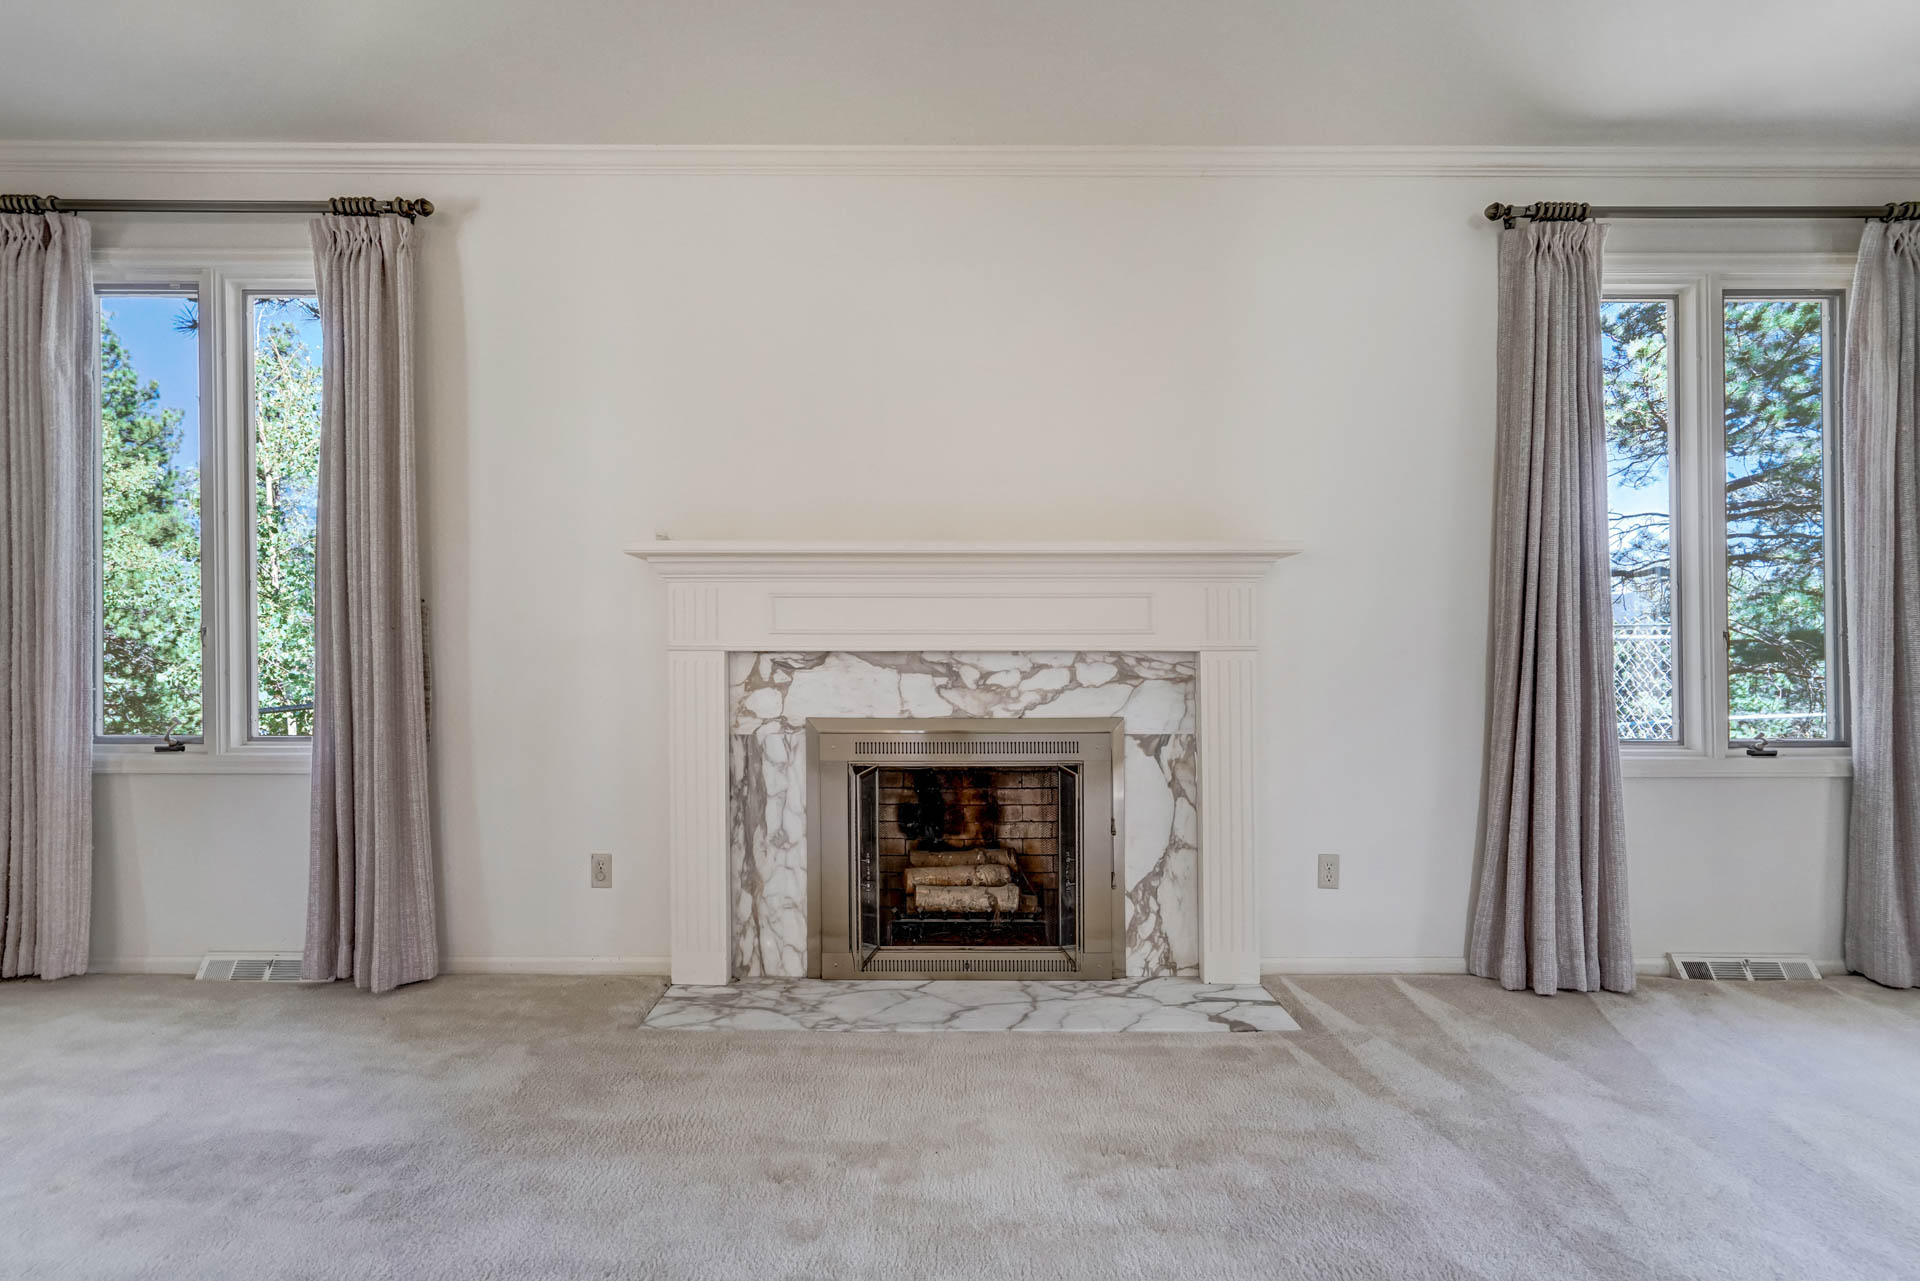
If you want your interior spaces especially to look open and expansive (and to reflect really how they feel to you and your eyes) you have to shoot wide. This means wider than what you get out of the box on your iPhone or with a standard DSLR kit lens. To be specific, the field of view (how wide the picture is) on my iPhone XR appears to be approximately 60°, with a rough corresponding full-frame focal length of the lens on the main camera at 35mm. Most pro real estate photographers shoot at 14-18mm, which correspond to fields of view of 114° – 100°, or almost double (2x) that of the (relatively wide) iPhone lens.
One way to really widen things up (cheaply) is by using a cellphone camera lens extension. These are inexpensive, functional, easy to use, and the results (image quality) can be surprisingly good. There’s usually a little bit of image degradation along the edges with these lenses, but we’ve found the positives outweigh the negatives, by far. We’ll frequently use a lens like this on quick video walkthroughs of properties that realtors might request for out-of-town buyers. Here’s the lens we use, available through AMAZON for $40.
Lights on, blinds set
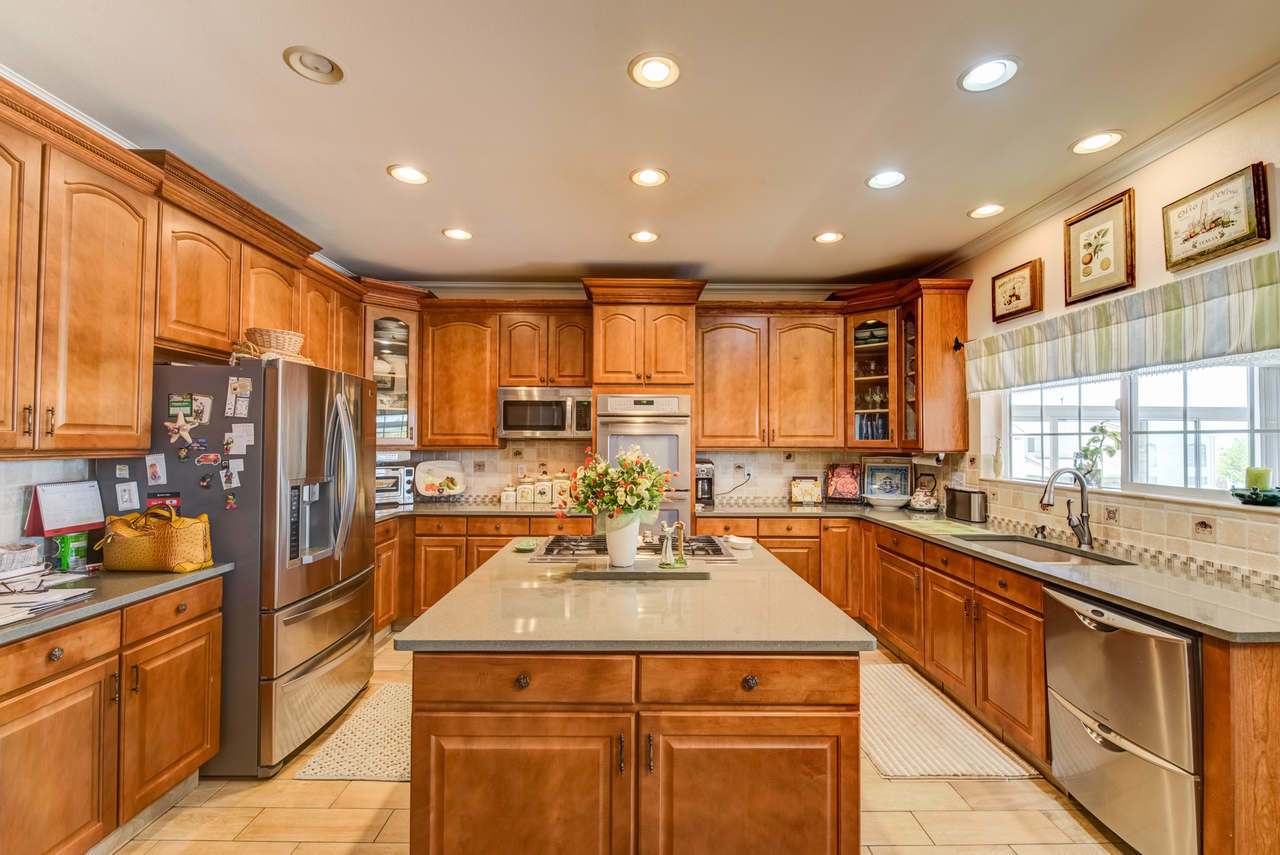
And be consistent. Lighting, hands down, makes or breaks photos. I’ll talk about this more here, but when shooting an interior space, you want as much light as possible. The best photos make use of natural light primarily, but sometimes a particular space will need as much help as it can get. The artificial lights in a space will also add accents to an image and are usually appealing visual elements in a photo. Our rule is if there’s a light, a lamp, a bulb, a fixture or something that glows; it should be ON.
Window blinds are another consideration. Up or down or something in-between? If you’re not using a full HDR process (and the bright windows will probably look “blown out” in the final photo) lowering the blinds and maybe opening them half-way might be your best bet. We will do this frequently in photos, and will angle the slats slightly upward. Whatever your choice, keep it consistent throughout the house if you can.
When outside, don’t be afraid of the sun
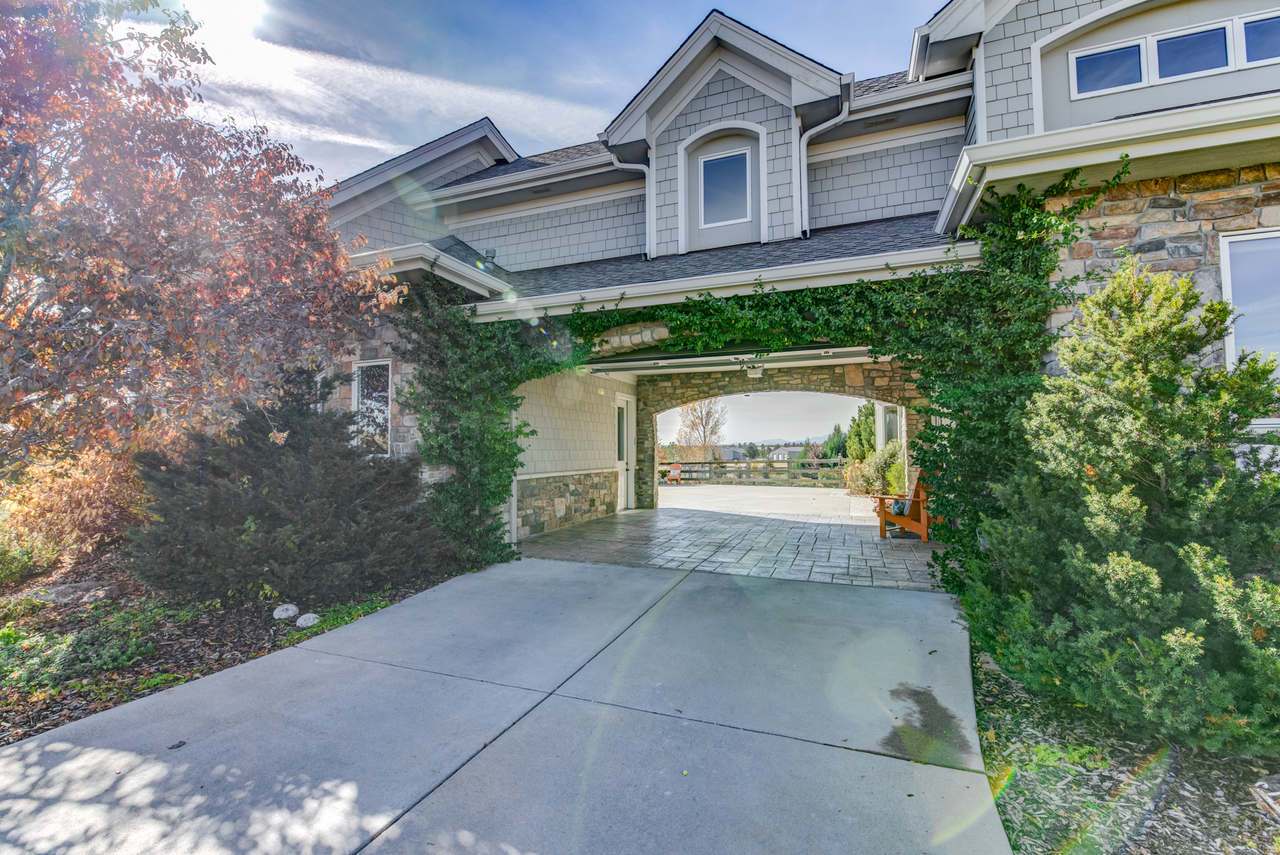
This one is totally going to offend our seasoned (grizzled?) old pro. Traditional “wisdom” holds that lens flares are bad, should be avoided, are the work of the devil, blah blah. I’m going to argue with this, obviously. Consistently, some of the most talked-about and commented-on real estate pictures of ours are those that feature a lens flare over some architectural element of a house. Especially if the flare can be aligned to lead the viewer’s eye toward the rest of the house, or to accentuate some other visual element in the photo—we consider flares as visual “gifts” … opportunities to bring something totally natural into a photo that will instantly make it stand out from the rest.
Getting a good flare can take a little practice. You might have to experiment with angles a bit, but you can first find a shadow on the ground that marks out an edge of the exterior or a house. Move forward and backward, or zoom in and out if you can (optically, not digitally) until you find that perfect place where the sun is just peeking above the roof, or the dormer or whatever. Take a bunch of different photos at slightly different angles here. Finally, the best way to create a good flare we’ve found is to add a simple (clear) filter to your lens, if you’re using a removable lens with filter threads.
Shoot at dusk
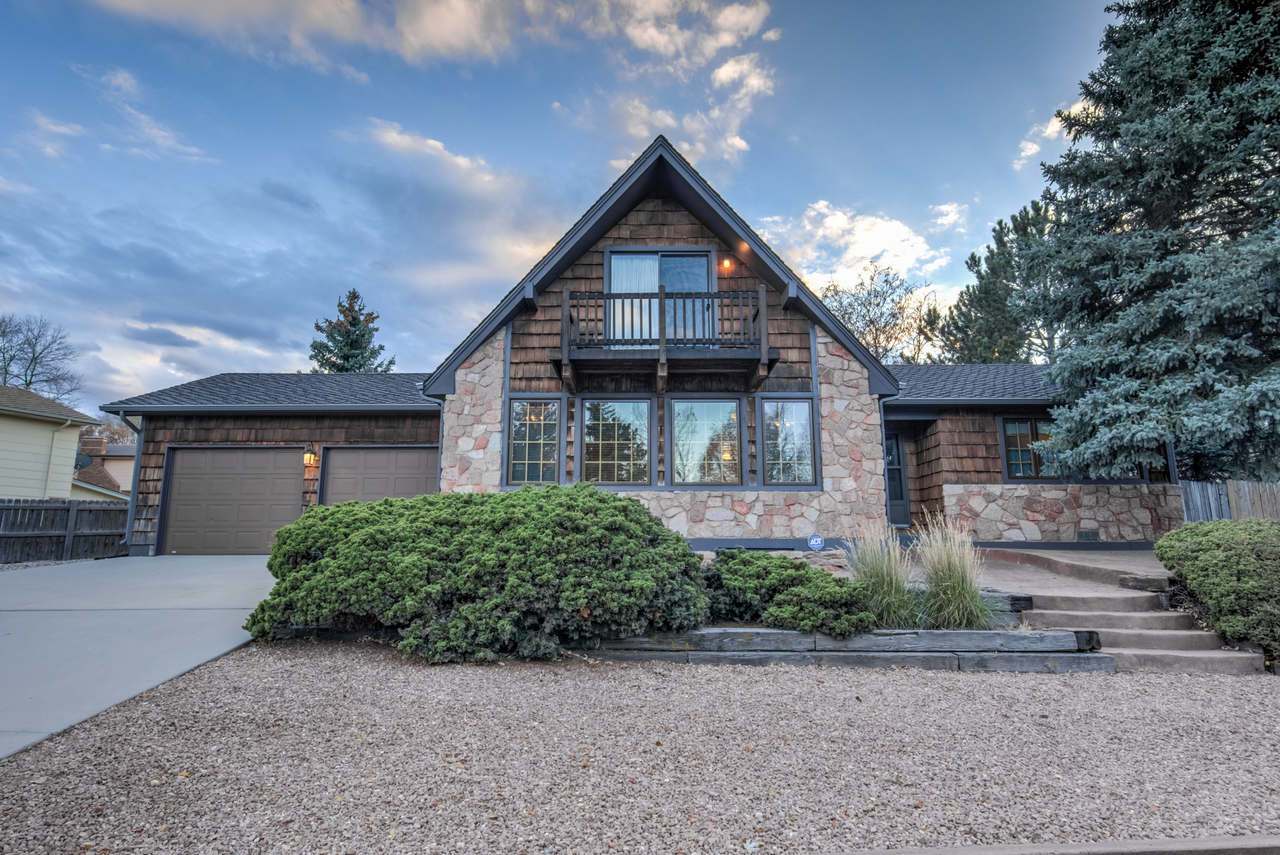
This one’s simple. Shoot (an exterior) at dusk and into twilight. Turn all the lights on inside the house (they will help to make the windows glow), and outside too. Pictures taken at dusk are different. Most photos of real estate that you see are taken in sunlight or during the day. There’s a reason for this (realtors and photographers work during the day, during normal business hours). Different is good.
One of the reasons to shoot at dusk too is the “dynamic range” of a scene is lowered. A shot that might have appeared overly harsh in the daylight, with crazy dark shadows and blazing, blown-out highlights will be more visually appealing, more natural-looking at dusk … and there are less noticeable differences between professional, HDR photos and those taken with an iPhone or a less-expensive DSLR in these kinds of “low dynamic range” scenes.
We’re in Colorado Springs … get Pikes Peak in the shot!
Ok, so it helps if you have a drone. BUT, the 14,000 ft MASSIF to the west of us dominates our skyline. Living here, we can get a little used to it and take it for granted, but for someone new to the Springs, maybe new to Colorado, “America’s Mountain” is a shining example of how cool it is to live here, and maybe even buy a house here. If there’s any possibility of getting Pikes Peak in the background, out a window, from the backyard, from the front … DO IT.
Shooting real estate can be challenging, but hopefully these 5 tips will help you guys improve your photos, make your place stand out, and end up with the best terms of sale on that property. Cheers!

Will Burcher is a videographer, photographer, writer and all around good guy. He’s the founder of FēD.


